The holidays are right around the corner.
Soon, social media will be rife with photos of Noche Buena and Media Noche feasts.
And trust us—you wouldn’t want your restaurant to be late to the online festivities.
A couple of weeks ago, we wrote about recipes your customers would love to see on your holiday menu.
And what better (and cheaper!) way to promote your menu than by posting mouth-watering food photos on your social media accounts?
Whether you are using a professional-grade camera or just your smartphone, you will find the tips below useful for taking photos of your holiday food:
1. Proper lighting
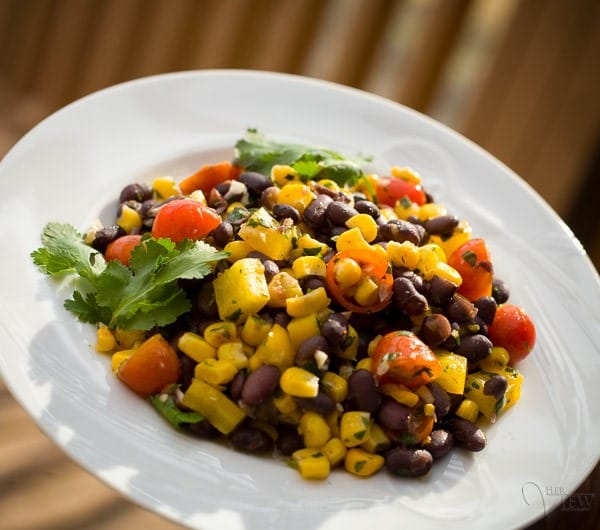
Making sure your photos get the right lighting does not necessarily entail a studio with backdrops, lights, and reflectors.
This can actually be done inside your restaurant; you only need the right time of day.
Keep the following in mind:
- Use natural light. Stay away from using overhead lights, lamps, or the built-in flash from either your smartphone or camera. Set up somewhere by the window of your restaurant to have the sun provide natural illumination for your food.
- No flash. Built-in flash is good for directional light, but not for food photography. The flash tends to wash out certain colors of food, and you would want to avoid that as much as possible.
- Take photos during the golden hours. Soft or diffused light is the best kind of light for photography. In photography parlance, the phrase “golden hours” refers to early to mid-morning or the time before sunset. Aim to shoot your photos during these hours.
- Use backlight. To add more texture to your photos, using backlight (illuminating a photo from behind) is the way to do it. This will show any smoke or steam coming from your food, giving you a more appetizing photo.
2. Composition
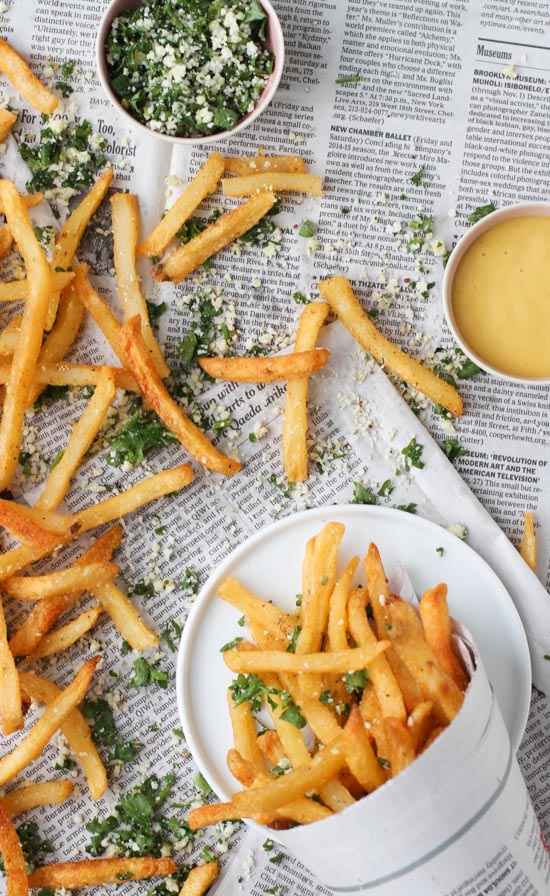
A proper composition adds much needed dimension and visual appeal to an otherwise boring photo of food on a plate.
- When setting up your photo’s background, make sure it contrasts the color of your food. Remember, your food is the focus of your photo. You don’t need to crowd the background; just accentuate it with props.
- For props, you can use plates and bowls, cutlery, or some raw ingredients. Make sure these are clean and spotless, as close-ups will highlight any dirt or imperfections.
- To break the monotony of food on plates, you can also add some story elements to it. For example, you can provide a before and after shot of your food (i.e. the cooking process) or you can take a photo while you are cooking it.
3. Strong Perspective
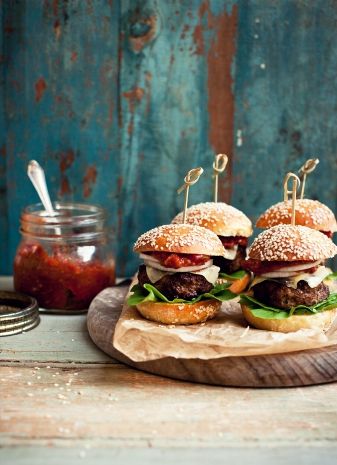
One of the tricks for engaging photos is to choose an angle that would best represent your subject.
When it comes to food, shoot low or directly above. Pizzas, for example, look best from above; burgers are best taken from the sides, while drinks should be taken at 45-degree angles.
Move around the plate and test some shots. Don’t delete your photos while you’re in the middle of shooting. Just pick the best one later.
4. The right camera settings
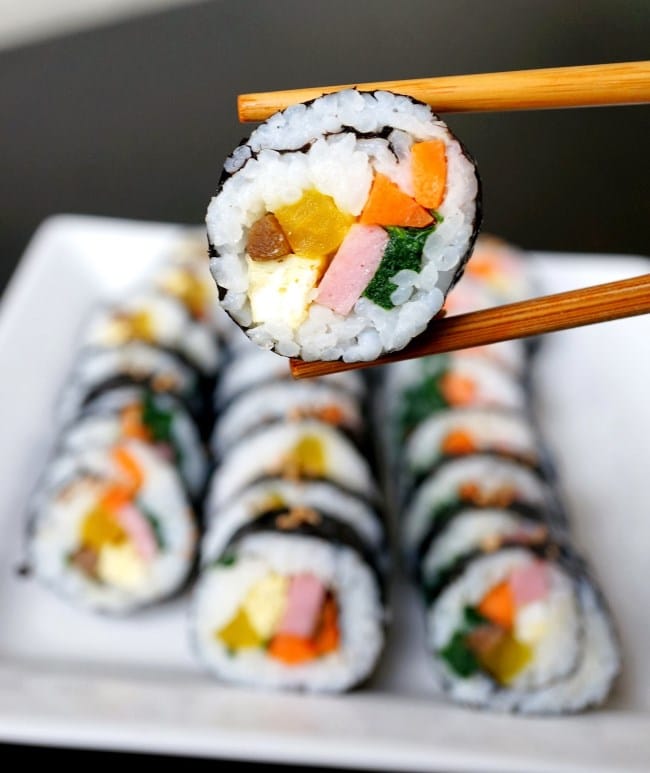
If you want to use professional-grade cameras, make sure that you know the right setting for food photography.
- Macro setting
Food photography usually makes use of close-ups, as this angle highlights the texture and color of the food better.
Macro settings are especially made to capture your subject’s details without distorting it, as opposed to using the normal zoom function of your camera.
- Lenses and F-stop settings
If you have a DSLR, your food photography would benefit from using a 100mm macro lens.
When it comes to f-stop settings, a 2.8 lens would work well with a higher ISO setting, especially when working in areas with low light. You also wouldn’t need a tripod with this setting, as this won’t lead to shaking.
A 2.8 lens would give you that shallow depth of field effect—focusing on the forefront subject, while the background object is a little bit blurred.
- White balance
Play around with your camera’s white balance setting. The thing is, most restaurants have fluorescent or tungsten light, which changes the white in your food into something more yellow or orange.
For practice, you can get a white piece of paper and take its photo until you get the right white balance setting.
- RAW format
Shooting in RAW format will give you an easier time to adjust the colors of the food during the editing process. It gives you the best quality of photos, with a higher brightness setting as opposed to jpeg format.
5. Edit photos
Unless your photos were taken in a studio complete with photography equipment, then your photos would need to go through an editing process.
You don’t need to go overboard with it, since you have already followed the steps above. You would, however, need to adjust the photos’ white balance, brightness and darkness levels, contrast, and saturation.
Once you are done taking your photos, please feel free to post them in our comments section below!

